In this post, I’d like to show you a scenario, where OData makes perfect sense. This will be a React application with .Net Core 3.1 back-end with just a single endpoint serving filtered results.
What is OData
OData is a convention of building REST-ful interfaces, that define how resources should be exposed and how should be handled. In this url-based convention you can not only fetch data but also:
- filter by one or more properties
- select only those properties, that you need
- fetch nested properties
- take only top X entities
- and more
How those urls could look like?
- Order products by rating
https://services.odata.org/OData/OData.svc/Products?$orderby=Rating asc
- Getting the second page of 30 products
https://services.odata.org/OData/OData.svc/Products?$skip=30&$top=30
- Selecting only Price and Name of a product
https://services.odata.org/OData/OData.svc/Products?$select=Price,Name
More examples can be found here (although it is an older version of the convention) – https://www.odata.org/documentation/odata-version-2-0/uri-conventions/
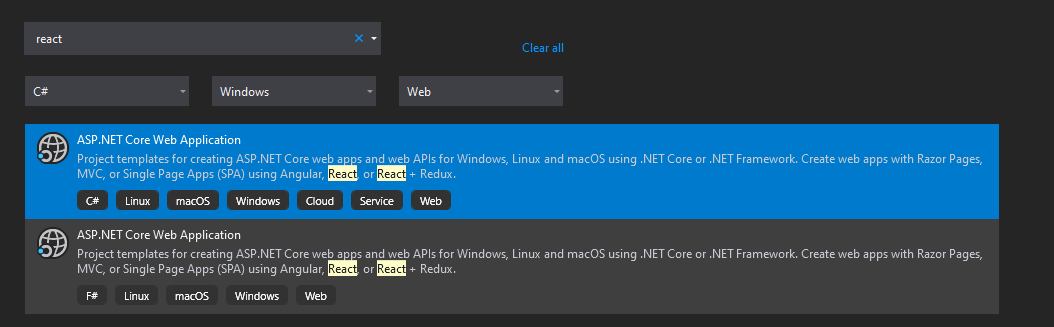
Create a project from a template
I created an application from a template from Visual Studio. This is a Web Api with React on the front-end.
It will work beautifully, right after you run it. You should see something like this:
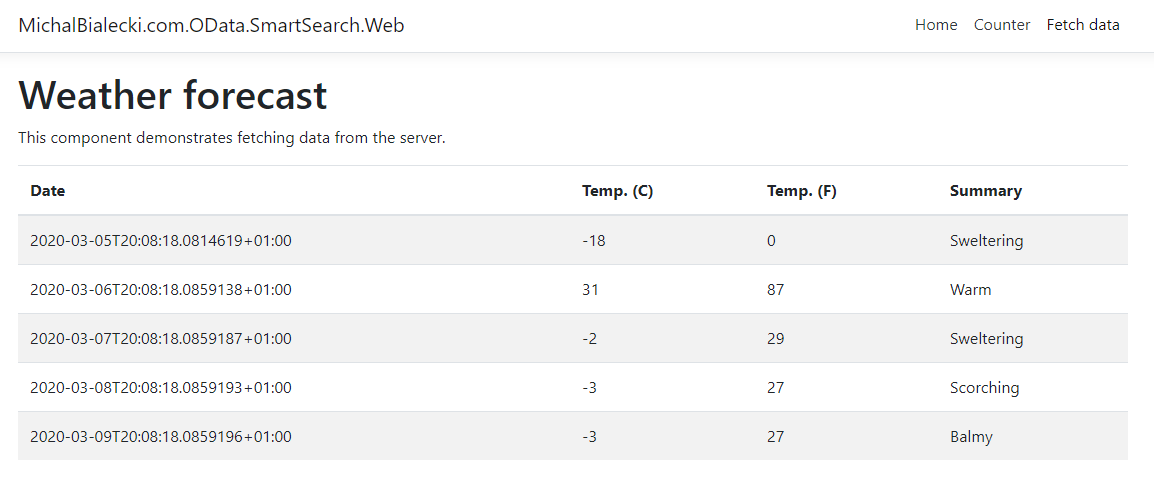
This is the page that we will modify later.
I added an Entity Framework Core with NuGet packages:
- Microsoft.EntityFrameworkCore
- Microsoft.EntityFrameworkCore.Design
- Microsoft.EntityFrameworkCore.SqlServer
Then created an aspnetcoreContext:
public partial class aspnetcoreContext : DbContext
{
    public aspnetcoreContext(DbContextOptions<aspnetcoreContext> options)
        : base(options)
    {
    }

    public virtual DbSet<Profile> Profiles { get; set; }
}
And Profiles class:
public partial class Profile
{
    public Guid Id { get; set; }
    public string FirstName { get; set; }
    public string LastName { get; set; }
    public string UserName { get; set; }
    public string Email { get; set; }
    public string Street { get; set; }
    public string City { get; set; }
    public string ZipCode { get; set; }
    public string Country { get; set; }
    public string PhoneNumber { get; set; }
    public string Website { get; set; }
    public string CompanyName { get; set; }
    public string Notes { get; set; }
}
Then with command:
dotnet ef migrations add InitMigration
I generated a EF Core migration to add a Profiles table to my database. Last missing piece is to run database upgrade at program startup to execute those migrations. So in Startup class I added:
private void UpgradeDatabase(IApplicationBuilder app)
{
    using (var serviceScope = app.ApplicationServices.CreateScope())
    {
        var context = serviceScope.ServiceProvider.GetService<aspnetcoreContext>();
        if (context != null && context.Database != null)
        {
            context.Database.Migrate();
        }
    }
}
And as the last instruction in the Configure method, I added:
UpgradeDatabase(app);
Simple, right? With very little work we created a Profiles table with EF Core migrations mechanism. This way creating a DB is a part of program start, so apart from providing a connection string, there is no need to do anything else to start this app.
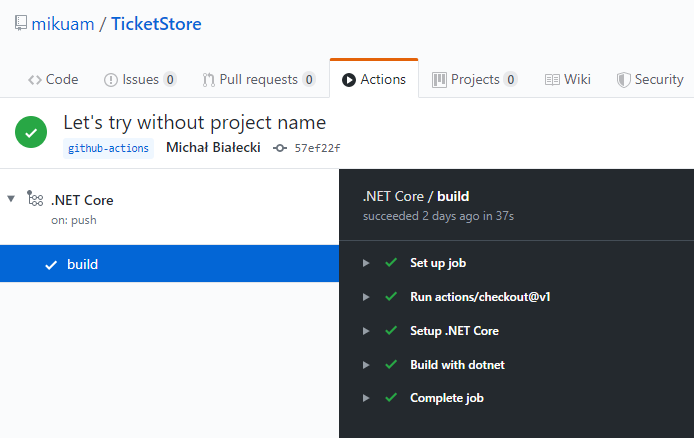
You can check the full project in this GitHub repo.
Let’s start with building a OData endpoint
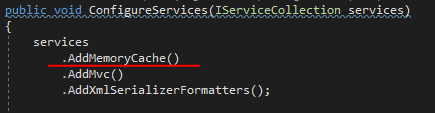
There are only a few lines that we need to add to the Startup class to make OData work.
public void ConfigureServices(IServiceCollection services)
{
    services.AddControllersWithViews(mvcOptions =>
        mvcOptions.EnableEndpointRouting = false);

    services.AddOData();

    // Entity Framework
    services.AddDbContext<aspnetcoreContext>(options =>
          options.UseSqlServer(Configuration.GetConnectionString("LocalDB")));
}
In the Configure method add:
public void Configure(IApplicationBuilder app, IWebHostEnvironment env)
{
    app.UseMvc(routeBuilder =>
    {
        routeBuilder.Select().Expand().Filter().OrderBy().MaxTop(1000).Count();
        routeBuilder.MapODataServiceRoute("odata", "odata", GetEdmModel());
        routeBuilder.EnableDependencyInjection();
    });
}
This is all you need to configure OData, now let’s create a controller.
public class ProfilesController : ControllerBase
{
    private readonly aspnetcoreContext _localDbContext;

    public ProfilesController(aspnetcoreContext localDbContext)
    {
        _localDbContext = localDbContext;
    }

    [HttpGet]
    [EnableQuery()]
    public IQueryable<Profile> Get()
    {
        return _localDbContext.Profiles.AsNoTracking().AsQueryable();
    }
}
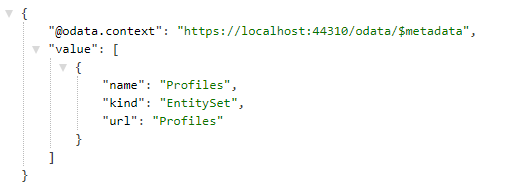
And that’s it. Now when you run your app and go to this url:
https://localhost:44310/odata
You will see the OData collection available.
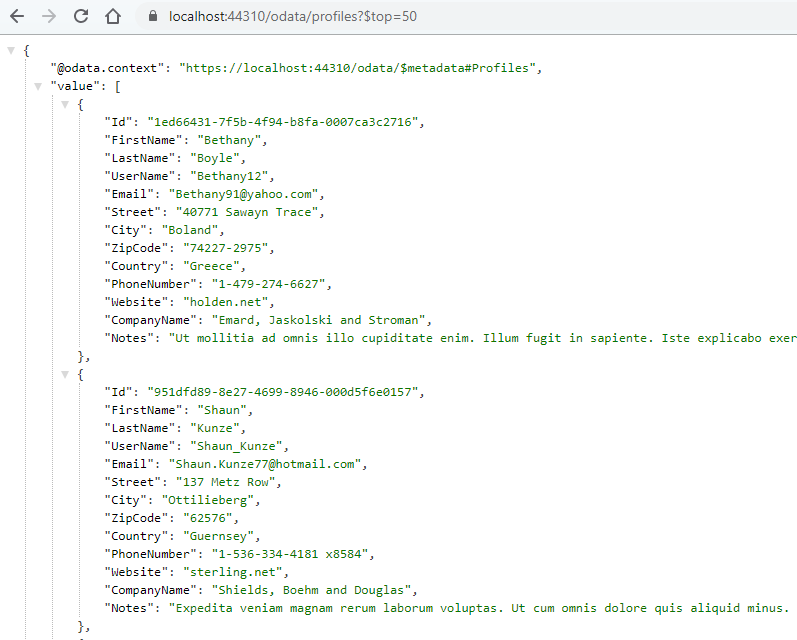
And when you go to profiles and check top 50, you will see something like this:
Front-end side
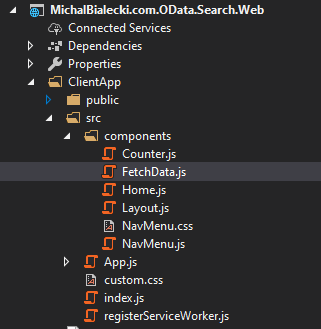
React application is located in the ClientApp directory and what we need to change is in FetchData.js file.
I’m not an expert in front-end, but I managed to rewrite this part to hooks and include very simple logic to fetch data from OData endpoint.
You can check the full project in this GitHub repo.
The result
Check out how it works in this short movie. Notice how fast it is with around 500.000+ profiles.
You probably noticed what kind of urls we fetch from the front-end. Let’s check for example this one:
https://localhost:44310/odata/profiles?$top=25&$filter=contains(FirstName,%27john%27)%20And%20contains(LastName,%27art%27)
Now, let’s run SQL Profiler and check what is called on the DB side:

Notice that I didn’t have to write this SQL, it was all generated for me.
The beauty of OData
This example showed how easy is to expose data with OData. It perfectly matches with Entity Framework Core and generates SQL for you. With a simple URL convention, you get huge possibilities of filtering and shaping the data you receive.
From the functional point of view OData is:
- very flexible, perfect for forms
- can be used where API has many clients that want output in a different form
- gives full REST-ful experience
I hope you like this post. All code can be found on my GitHub repo.
Enjoy!