
Postman is a great tool to quickly create a request and run it against your API. This is a flexible tool created to make your work simpler. You can save you requests, define variables for different environments and share it with your team. Today I’ll show you the most useful and practical features of Postman.
Swagger is not good enough
Swagger is an API package, that eases working with API. It comes almost out of the box. With a little configuration, it exposes user-friendly interface alongside with your API. Postman, on the other hand, is an external tool to make requests to your API but does not interfere with it. It comes in handy in cases where Swagger is not enough. What’s the main advantage of using it is the fact, that you can store your requests and you don’t need to fill in the data for the request over and over again. In fact, both tools are great and can be used together, but with a slightly different purpose.
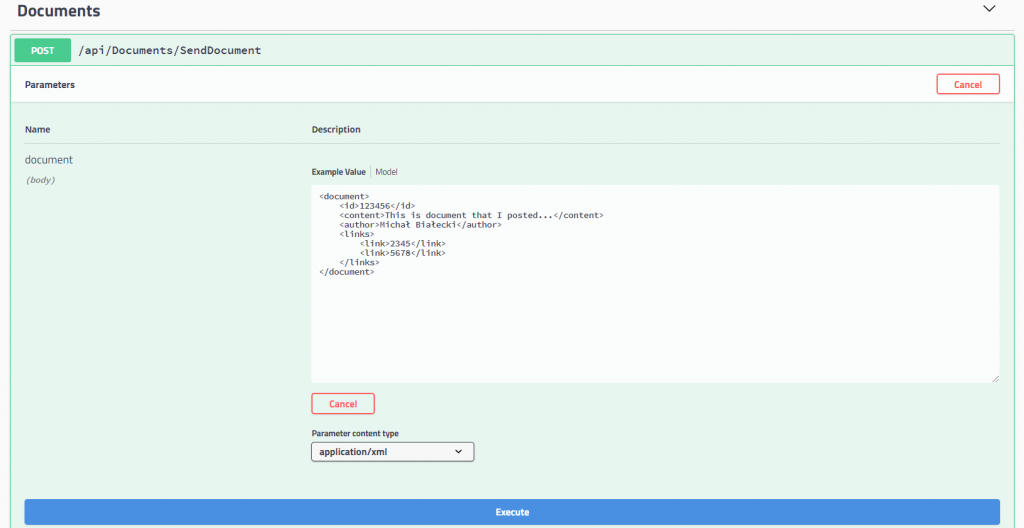
Let’s look at the example. This is how swagger looks under .net core:
And this is a Postman window with the same request:
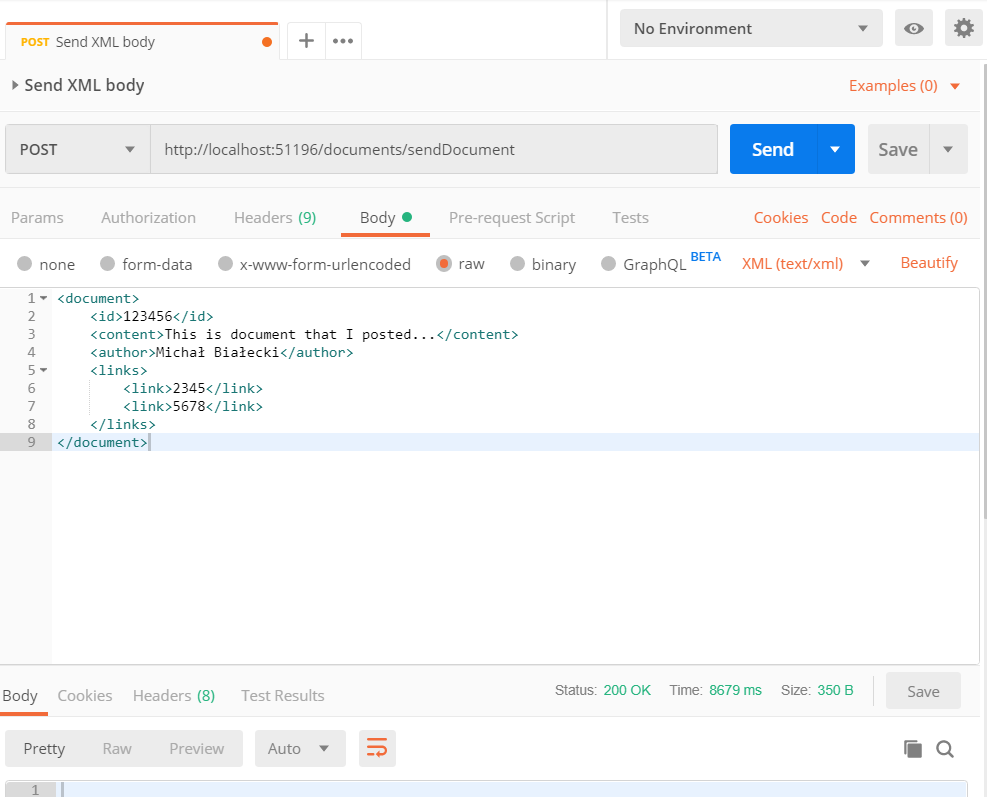
Comparing to Swagger, Postman is much more compact and because it is an external tool, it offers much more.
The best things
I won’t list the whole documentation here, but I’m going to show you what I like the most and what I use on a day to day basis.
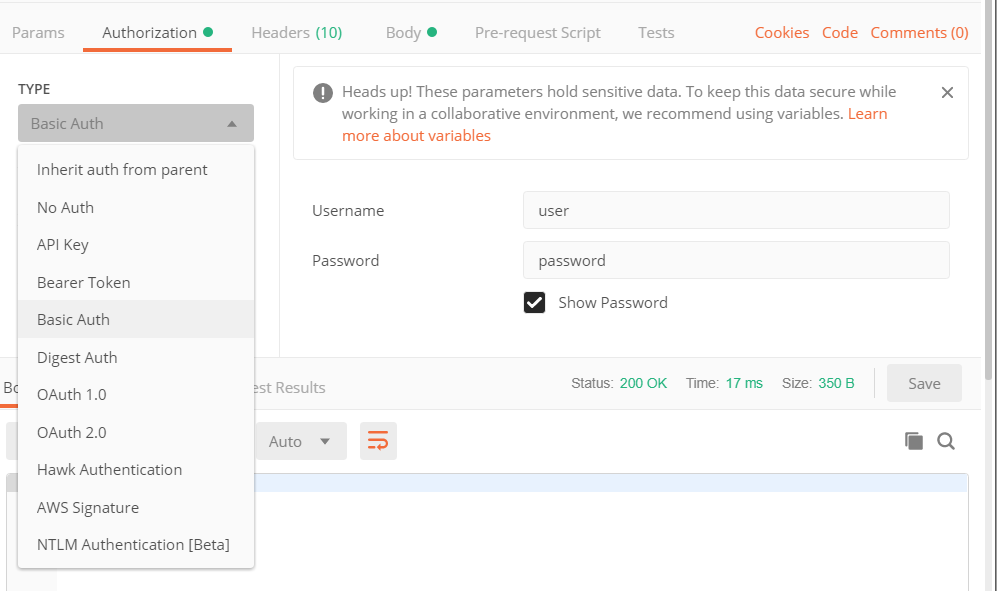
Simply provide authorization
In the Authorization tab you can easily define what you need and it will be added to you request. It supports whole list of authorization methods and frankly, I only used a few of them. For example if you need to provide basic authorization, you just need to put user and password, without a need to encode it in base64 manually.
Save request to a collection
Next, to the Send button, there is an option to save a request and put it in the collection. If you have different micro-services you work on, you can divide your requests by service, or by context and put them into different collections. You can even create nested folders to make separation of requests even greater.

Add variables
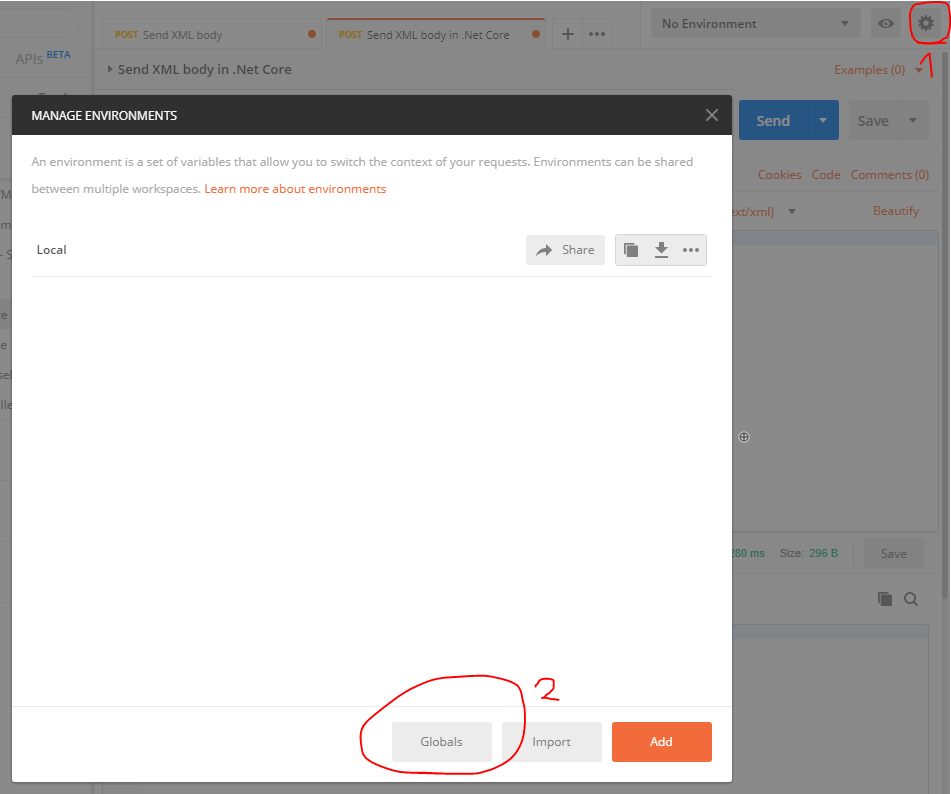
The great thing that I discovered recently is an ability to define your own variables. To do this you need to click settings icon on the right and choose Globals button at the bottom of a popup.
Then you will be able to define variables you can use later. I added a url for my service(document-service-url), since I will be using that in every request for my service.
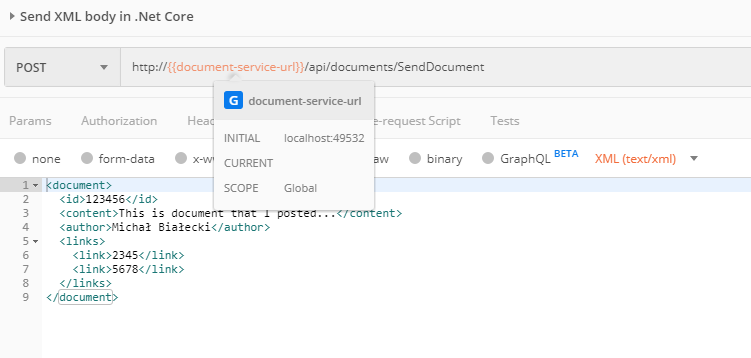
You can use your variable, by putting its name in a double curly braces like in the image above. This is very convinient when suddenly you need to change a port in your url or a password in the basic authorization method.
Define environments
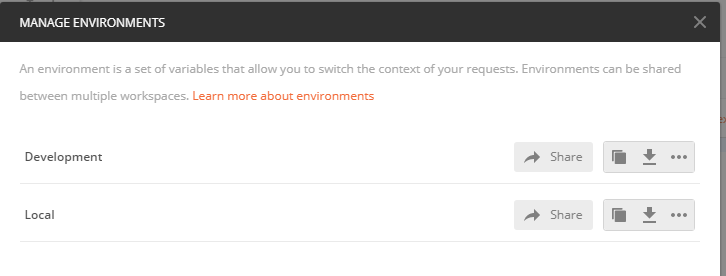
As you saw, the URL that I used is defined by variable, that I can use in every request, but only locally. What about other environments? Postman support that as well. To add an environment, just click on the settings icon on the right and add one.
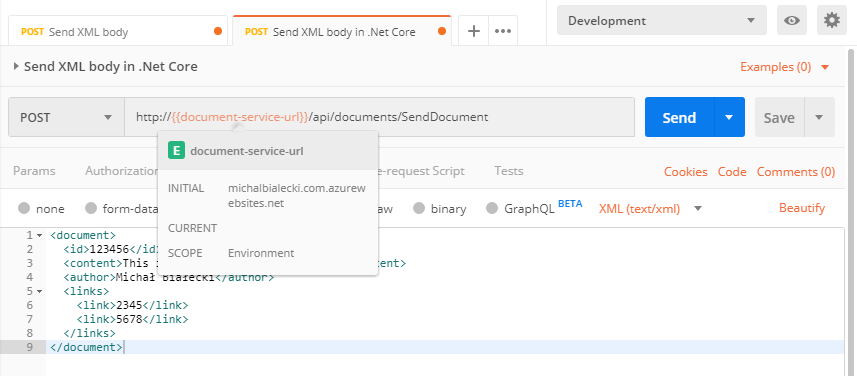
Now when I choose Development environment, the value of my variable will be different.
Share you requests across the team
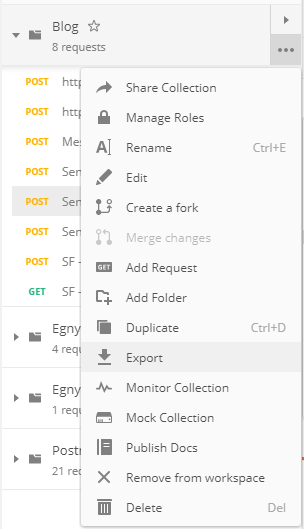
This is all great, but how can you send a request to a friend, so he can use it as well? The easiest this is export entire collection as a json file and you colleague can import it in his Postman.
The other thing that you can do is to share you collection. On the top there is a My workspace dropdown, where you can define teams.
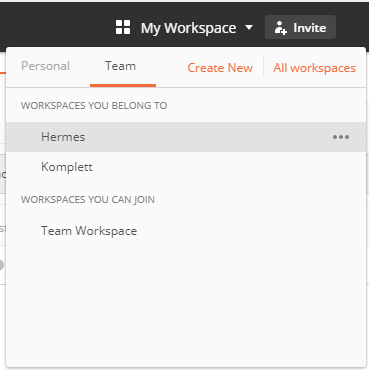
Once you click on a team, Postman will load all of the teams collctions. Great thing about it is, that you can work with the same requests within a one team and keep them up to date as the work goes. This was a real game changer for me and in fact a motivation to write this post! There is however a little drawback – in a free version, you can only share 25 requests across the team, and this is not a lot.
To sum up – I am very impressed by Postman and the possibilities that it offers. It actually offers much more then I mentioned. I also like its visual side and simplicity. I hope you like it too 🙂